Prerequisites
Ensure your infrastructure meets the following requirements before starting:- Kubernetes 1.23+
- Helm 3.8.0+
- Support for a Persistent Volume (PV) provisioner
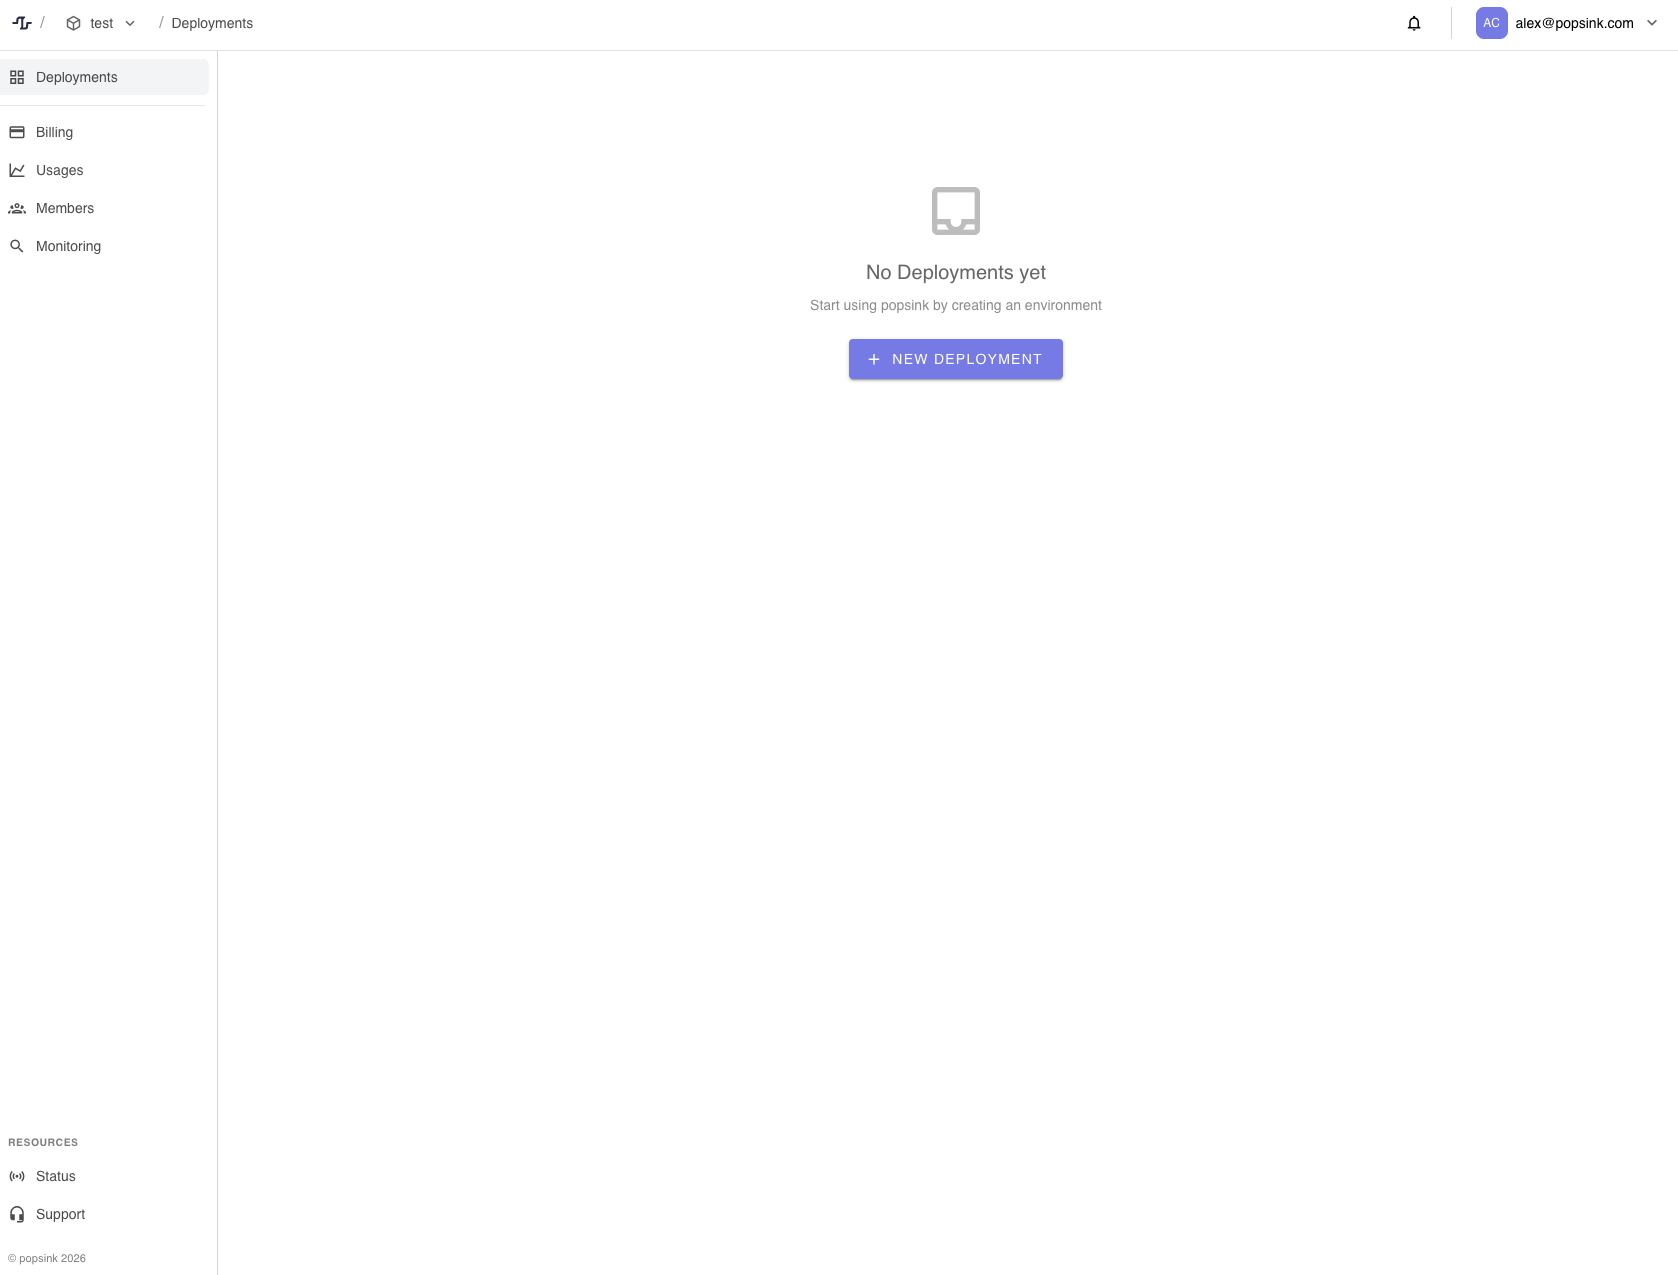
1. Create a New Deployment
- Navigate to Deployments from the sidebar.
- Click New Deployment.
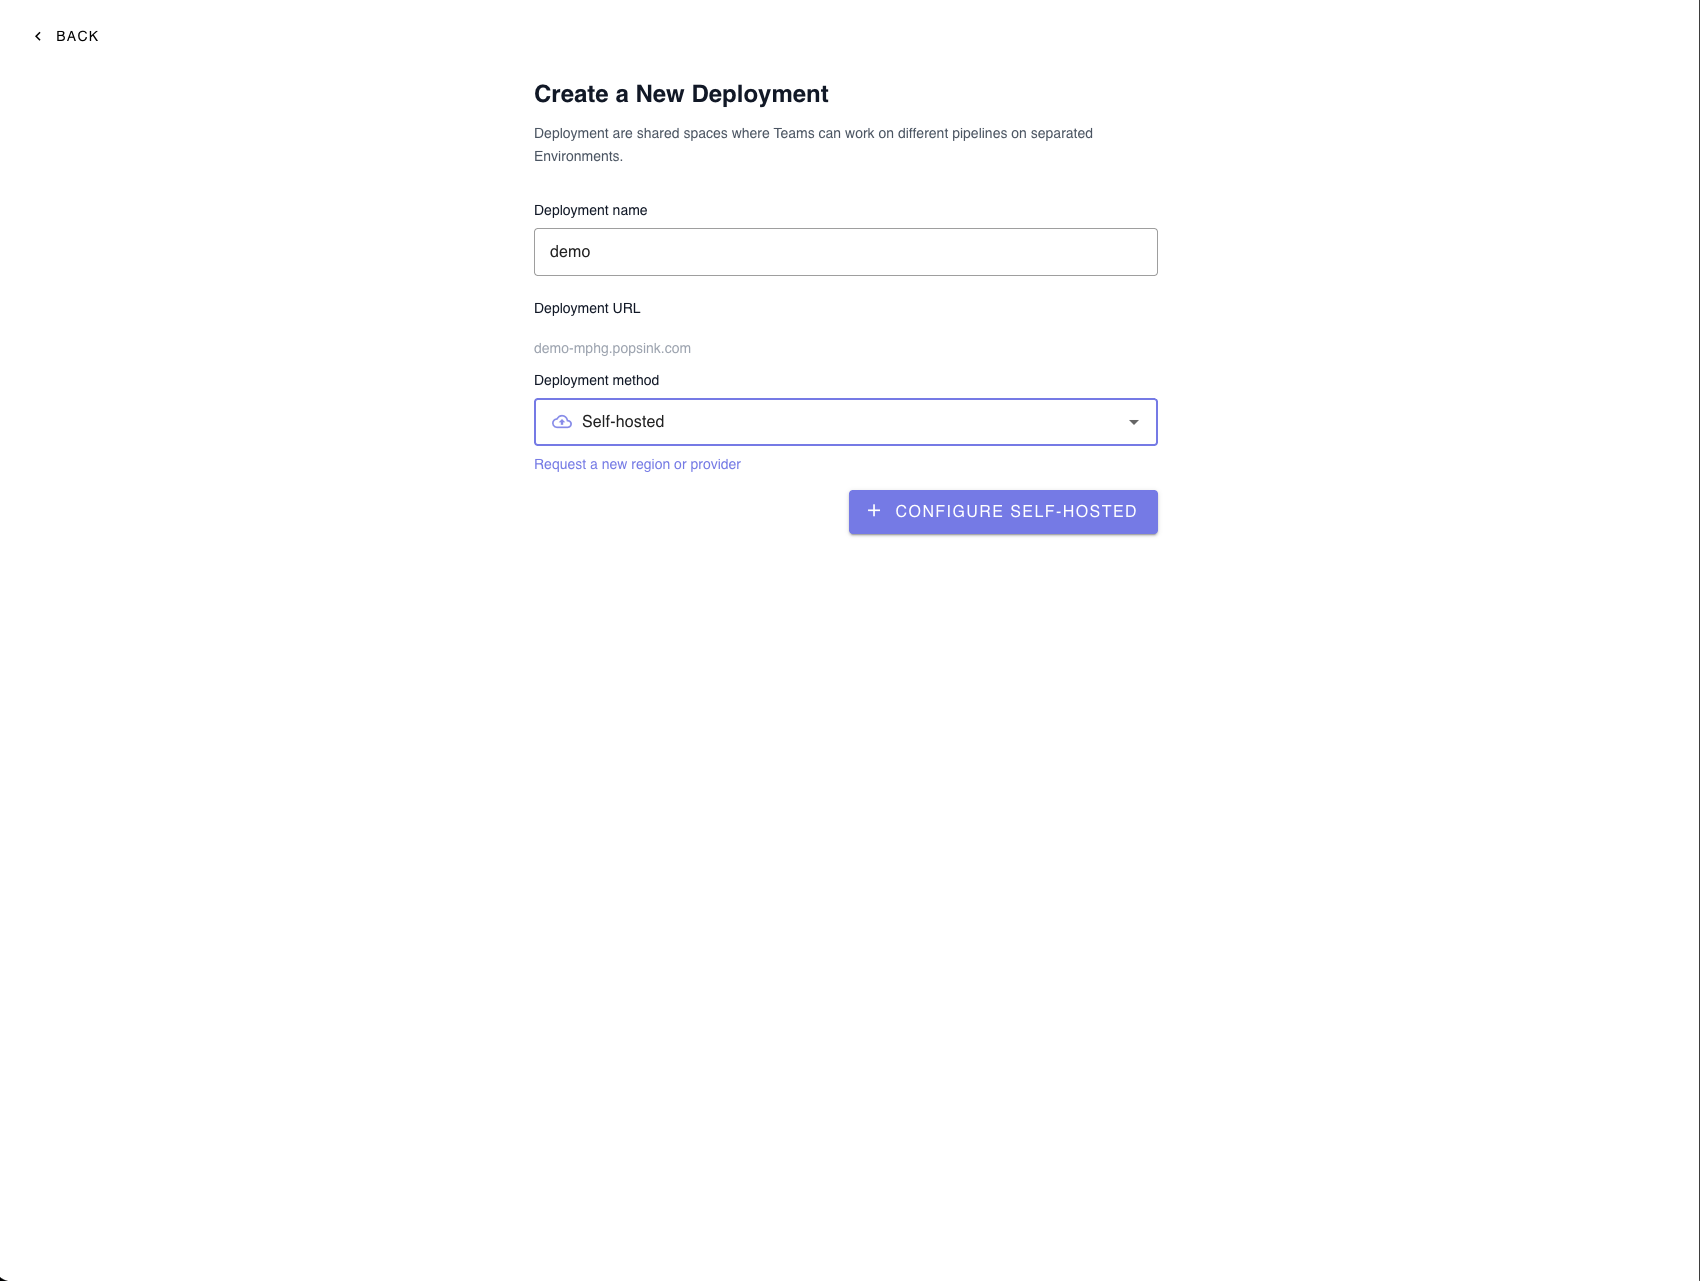
Deployment Settings
Provide the required information:- Deployment name – Choose a recognizable name for your environment.
- Deployment URL – Automatically generated from your deployment name.
- Deployment method – Select Self-hosted.
💡 You can request a new region or provider if your preferred option is not listed.
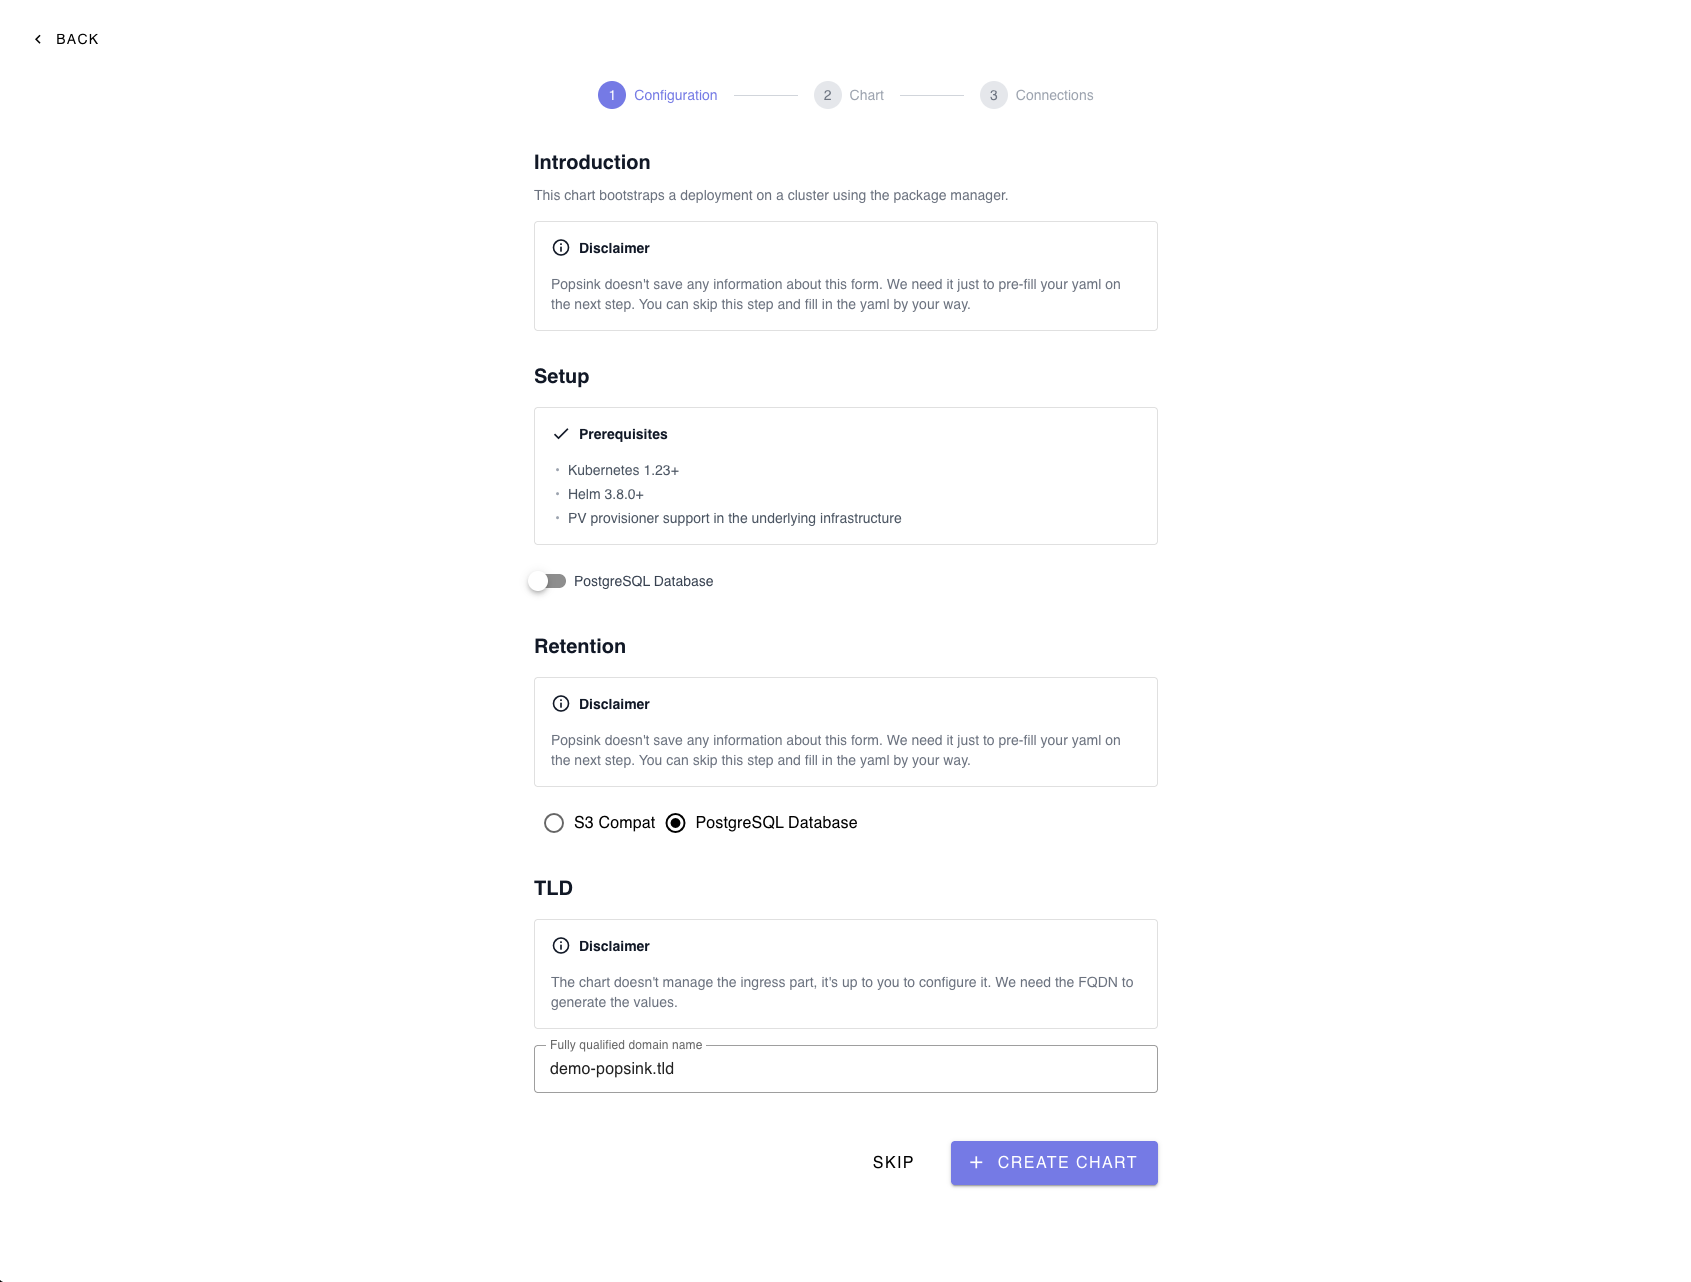
2. Configure the Deployment
This step bootstraps your deployment on a Kubernetes cluster using Helm.Note: The information entered here is only used to pre-fill your YAML in the next step and is not permanently stored. You can skip this step and manually edit the YAML if preferred.
Optional Database Setup
You may enable a PostgreSQL database during setup if required by your deployment.3. Select a Retention Strategy
Choose how your data will be stored:- S3-Compatible Storage – Recommended for scalable object storage.
- PostgreSQL Database – Suitable for structured retention needs.
4. Configure the TLD (FQDN)
Provide the Fully Qualified Domain Name (FQDN) used to generate your Helm values.⚠️ The chart does not manage ingress configuration. You must configure it separately.Example:
ingressurl field in your values.yaml to this FQDN.
Click Create Chart when ready.
5. Install the Helm Chart
After generating the configuration, follow the provided commands.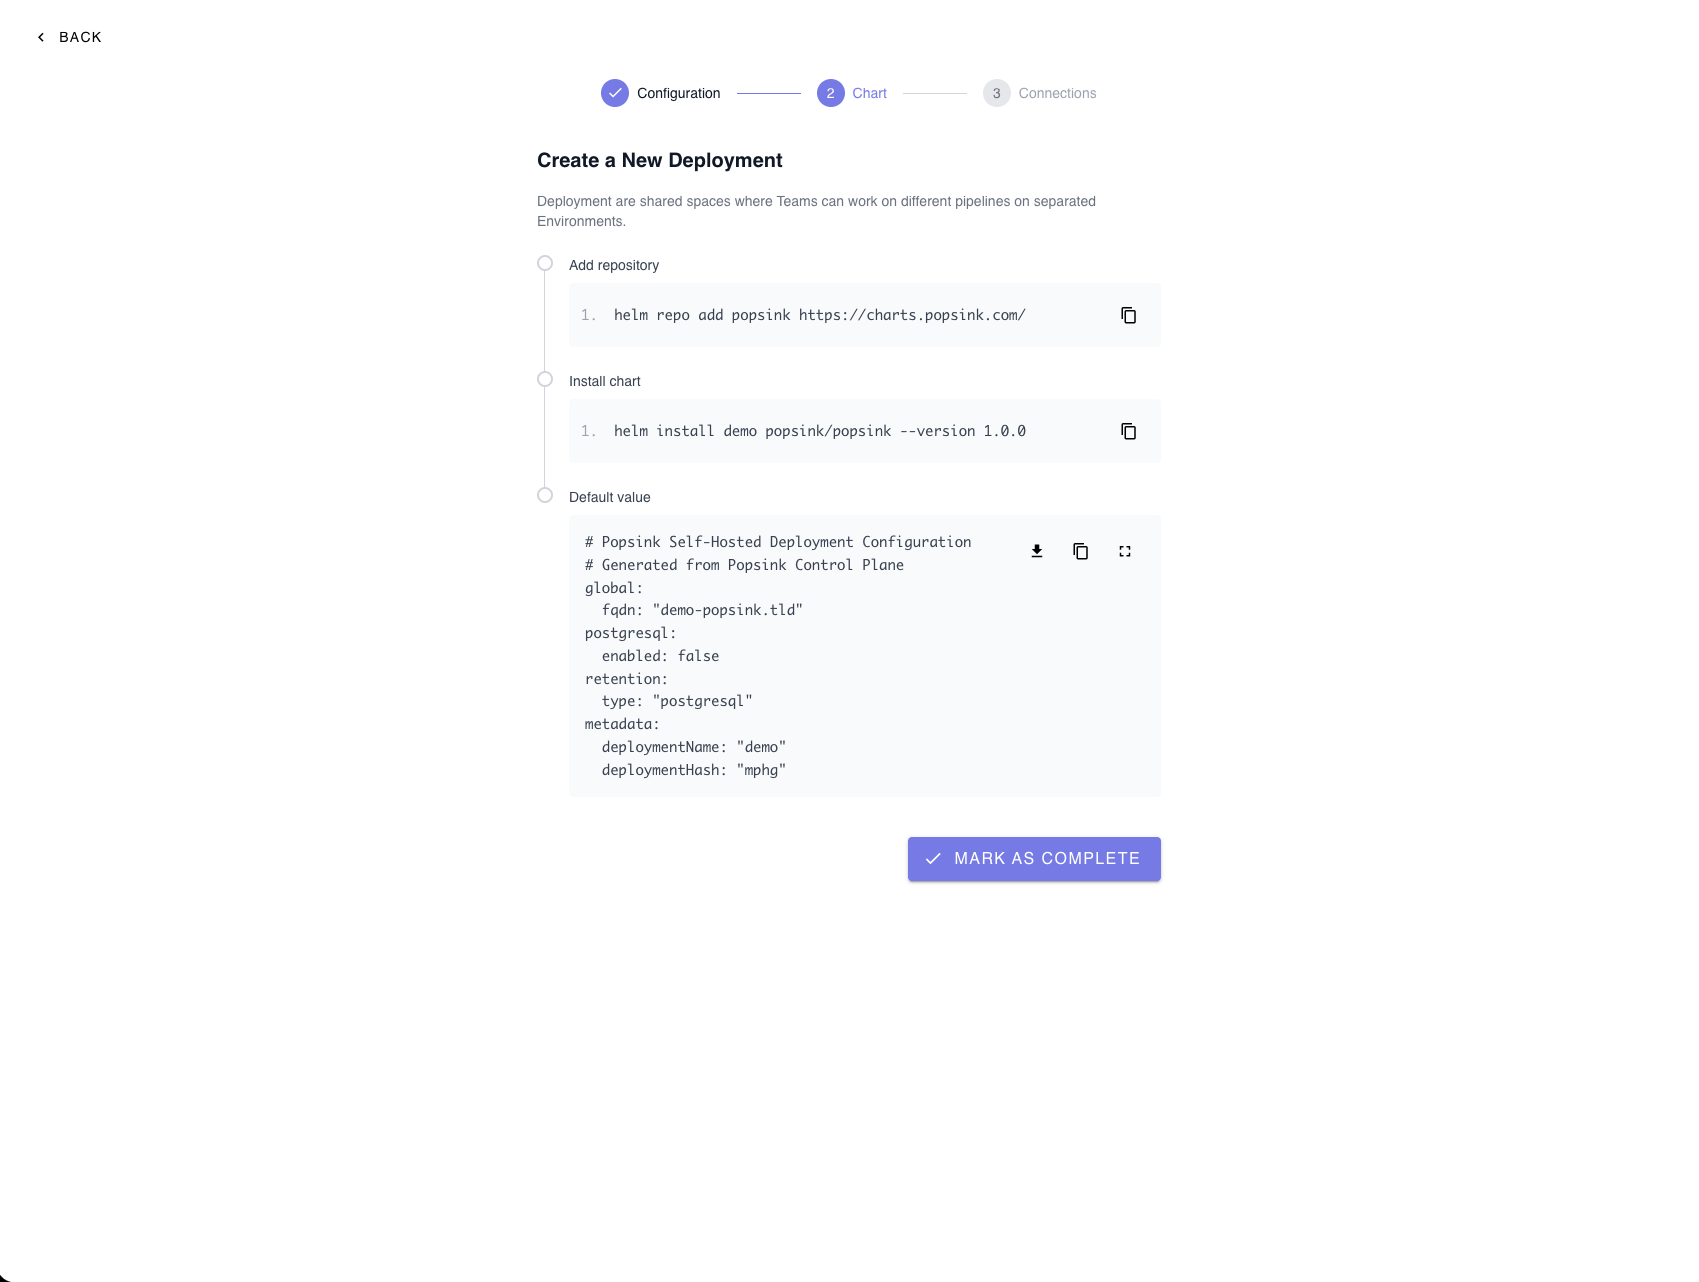
Install Command
6. Review and Customize Helm Values
A default configuration file is generated containing:- Global FQDN
- PostgreSQL enablement flag
- Retention type
- Deployment metadata
Required Helm Values
Set the following values exactly as provided by Popsink to allow the data-plane to register and communicate with the control-plane:controlPlaneUrlcontrolPlaneFrontendUrldeploymentIddeploymentJwtToken
Managing Secrets
Sensitive values (such as tokens or credentials) can be provided in two ways:-
Directly in
values.yamlSimple to configure, but ensure proper access control and avoid committing secrets to Git. - Reference an existing Kubernetes Secret (Recommended for production) Keeps sensitive data out of Helm files and aligns with Kubernetes best practices.
Image Registry Authentication
Popsink distributes container images through a private registry. To pull these images, you must configure authentication using an imagePullSecret. Popsink will provide a registry token that you must add to your Helm configuration. When finished, click Mark as Complete.7. Await Connection
After installation, the platform waits for your self-hosted deployment to connect. You will see an “Awaiting connection…” status until the cluster successfully registers.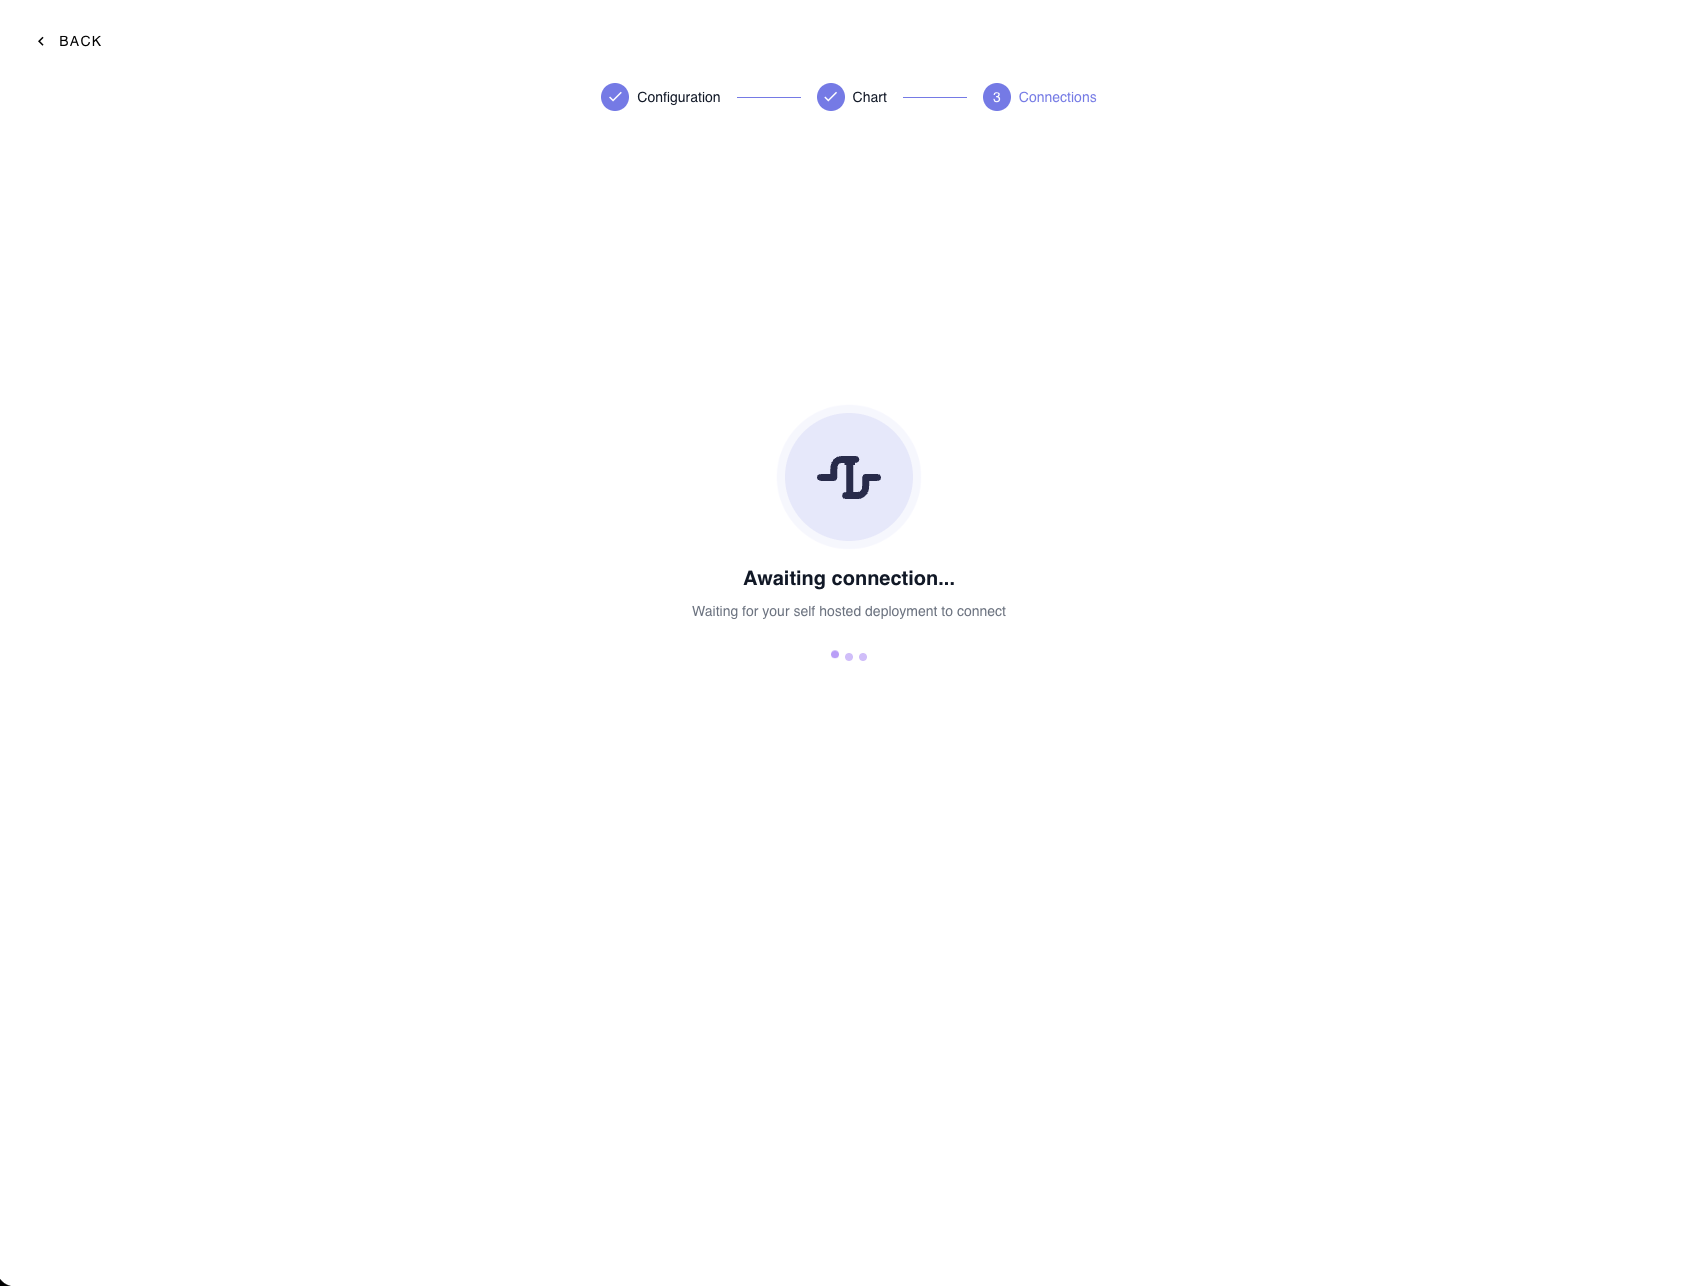
Troubleshooting
If the connection is not established:- Verify that the Helm installation completed successfully.
- Confirm your ingress and DNS are correctly configured.
- Ensure the cluster has outbound network access.
Production Recommendations
For most production deployments, Popsink recommends:- Using S3-compatible object storage for retention (scalable and durable).
- Providing an external PostgreSQL database instead of running Postgres inside the cluster.
Advanced Configuration
Custom JWT Secrets (Data-Plane)
For enhanced security and compliance, you can configure the deployment to use your own JWT secrets instead of the defaults. This approach provides tighter control over:- Token signing and rotation policies
- Secret ownership
- Security posture