

values.yaml and a
helm install command, and you run them against your cluster.
Every value the chart exposes, component by component, is in the
Helm chart reference. This page covers the path that
works; that one covers everything else.
What gets installed
Connector workers are not part of the chart: the data plane creates them as pods
in its own namespace at runtime. Any sub-component can be disabled in favour of
your own Kafka, schema registry or PostgreSQL — see the
chart reference.
Before you start
Run through Kubernetes requirements first. In short: Kubernetes1.23+, Helm 3.8.0+, two amd64 nodes at 4 vCPU / 16 GB, an
ingress controller, outbound HTTPS, and — from Popsink — a registry token
and an account on the control plane you will attach this deployment to.
Decide up front where the data plane will be reachable. You are asked for it in
step 2 and it cannot be left blank:
URL, not TLD, not FQDN. For a data plane served at
popsink.example-company.com, the TLD is .com, the FQDN is
popsink.example-company.com, and the URL is
https://popsink.example-company.com.The chart value is ingressUrl and it takes the URL. The wizard’s
Fully qualified domain name field accepts the host on its own and prefixes
https:// for you; type a scheme yourself and it is kept as-is (an on-prem data
plane may legitimately sit behind plain HTTP).1. Create the deployment
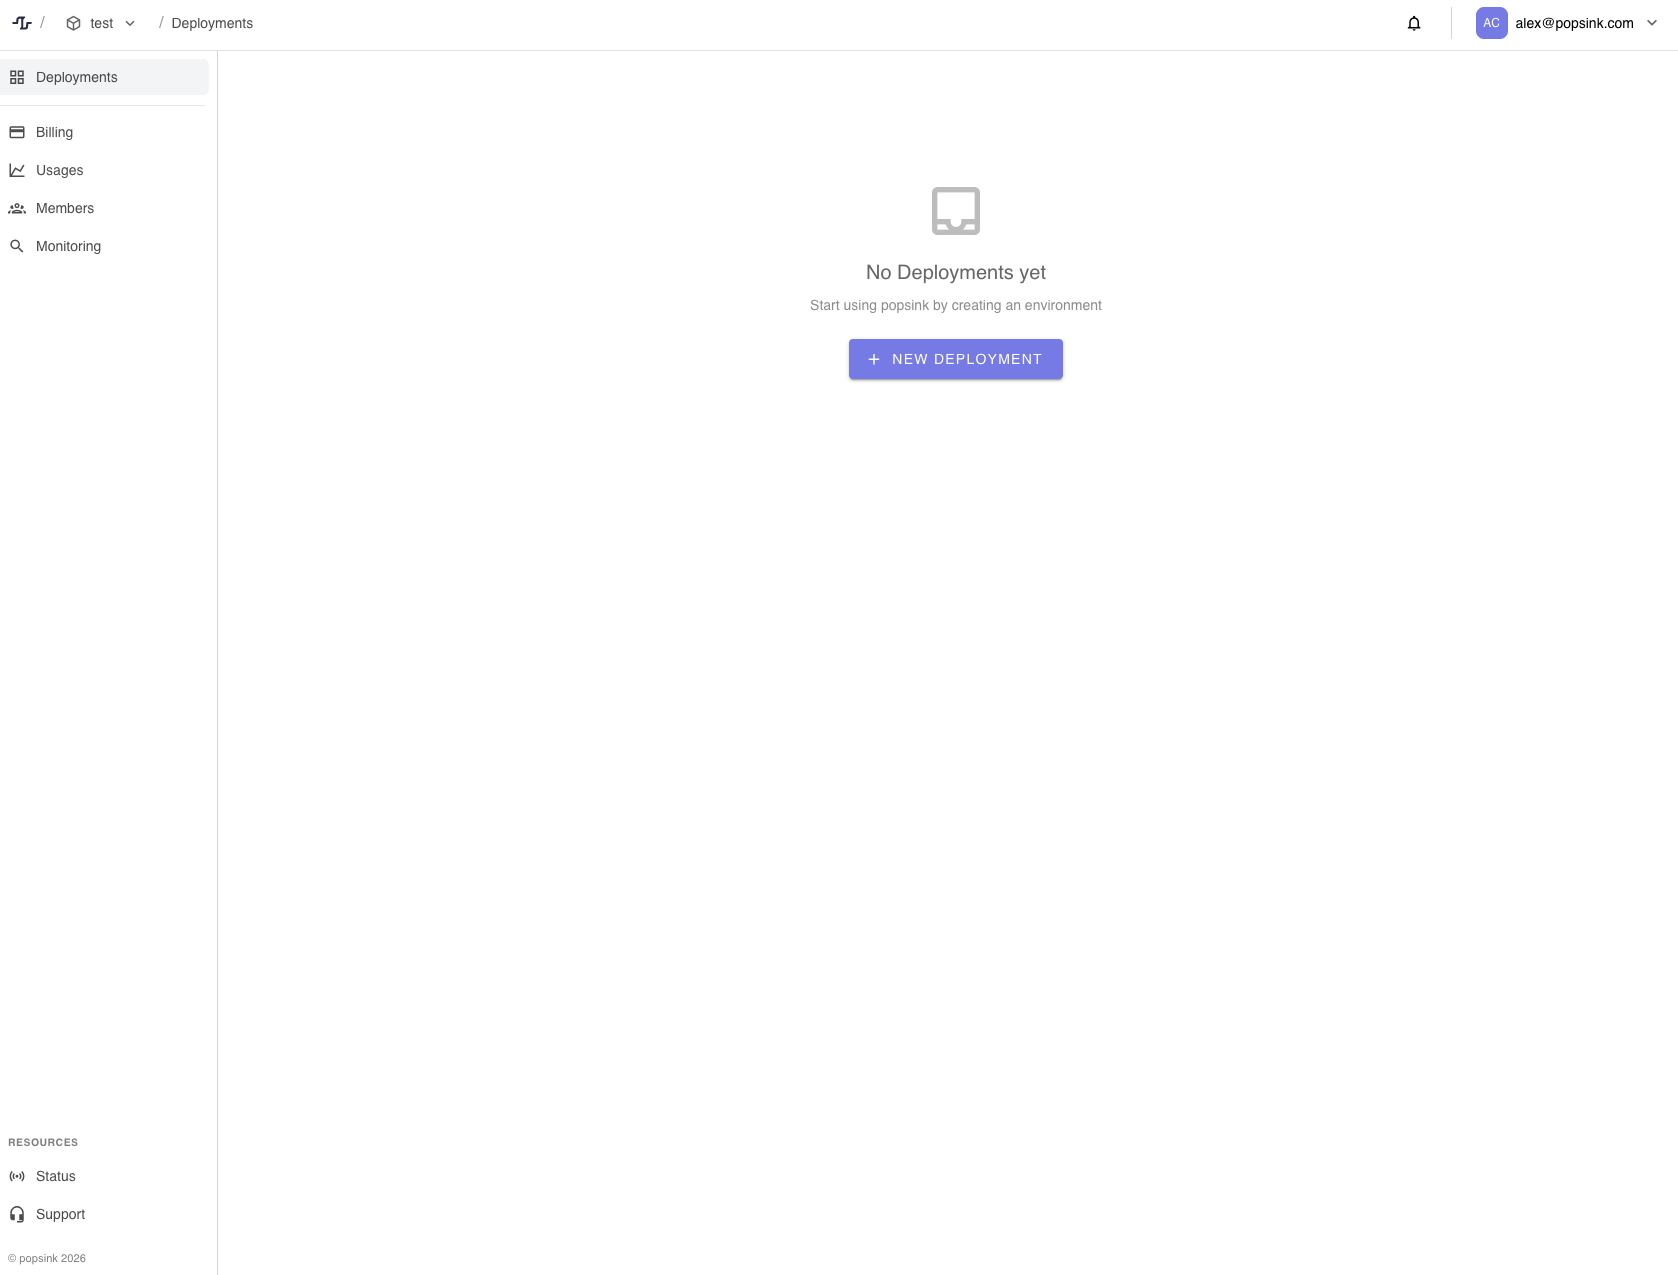
- Open Deployments in the control-plane sidebar.
- Click New Deployment.
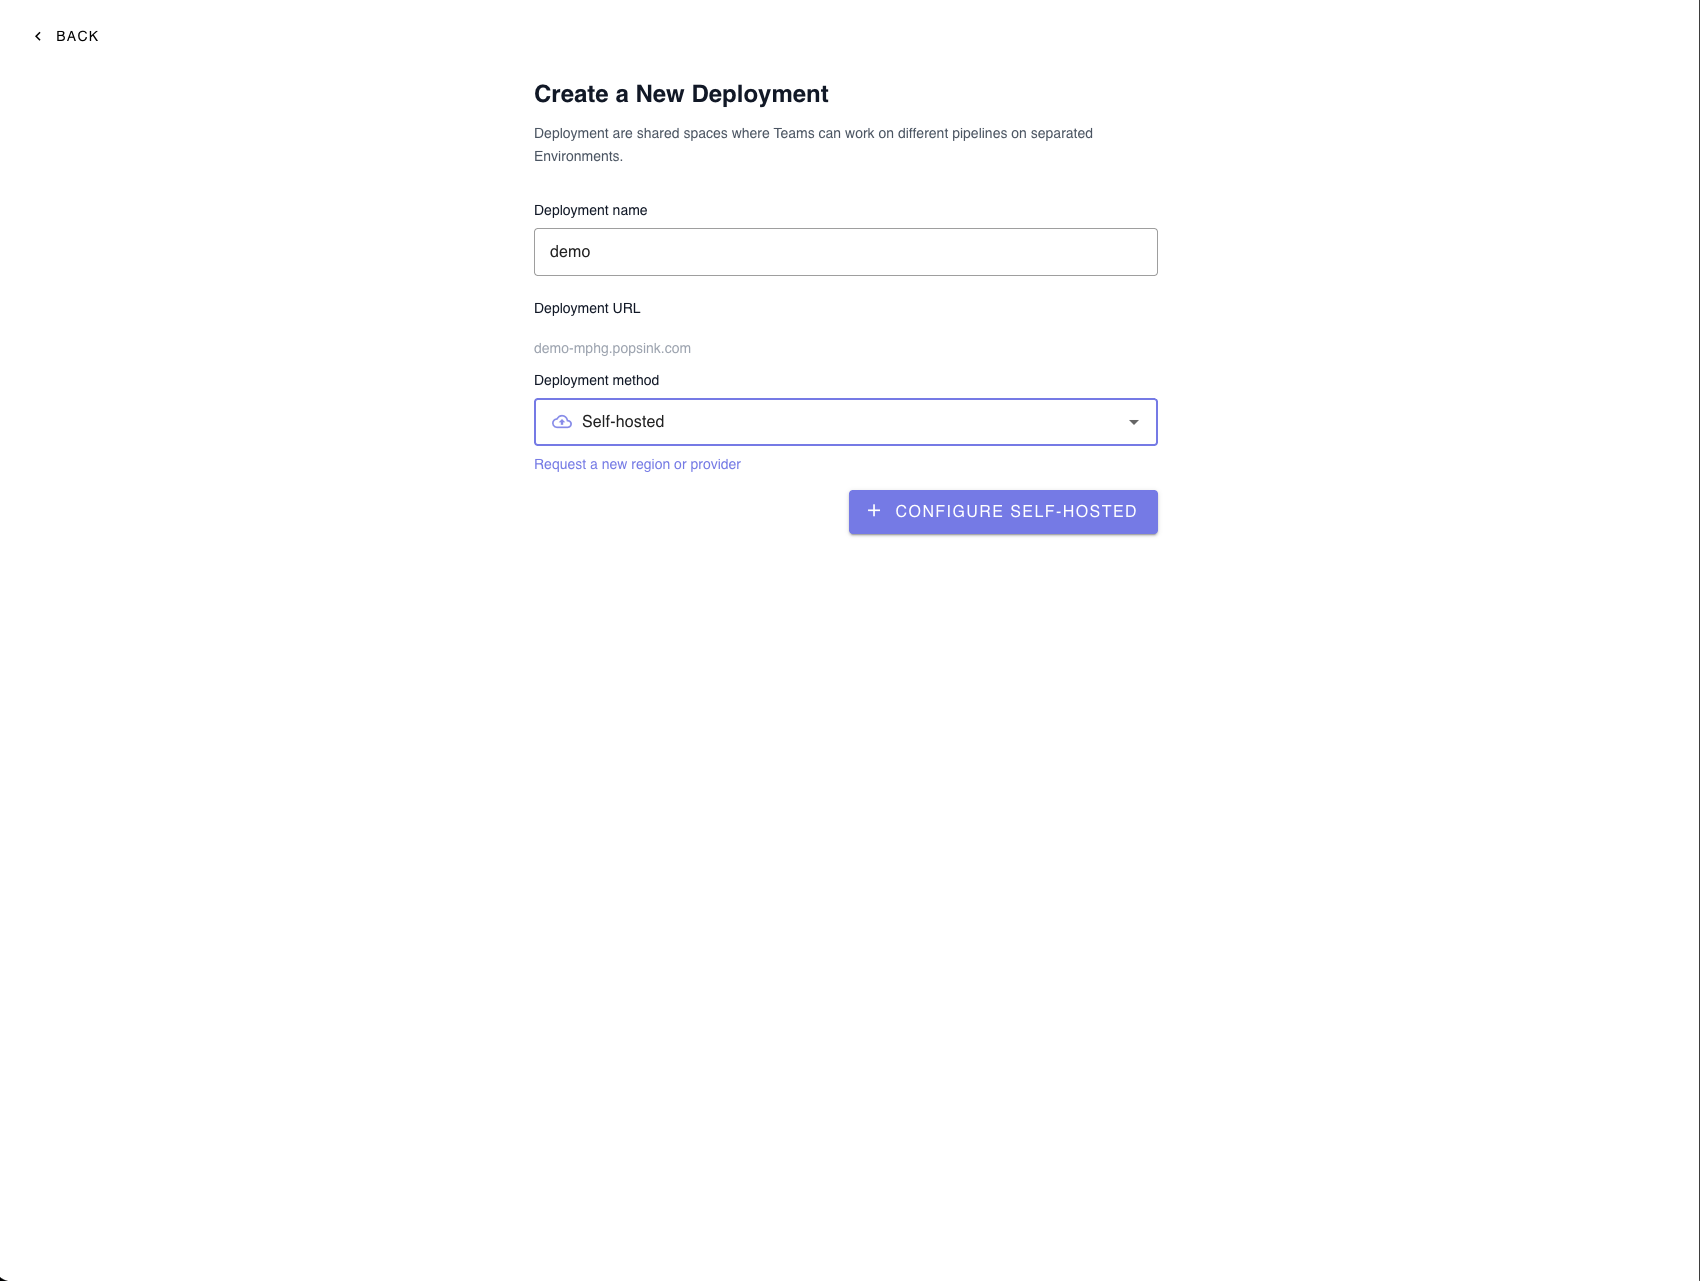
- Deployment name — a recognizable name for this environment. It also becomes the Helm release name (slugified), so keep it short and DNS-friendly.
- Deployment URL — generated from the name.
- Deployment method — Self-hosted.
💡 You can request a new region or provider if your preferred option is not listed.
One deployment per isolated network. Environments split a single reachable
network into scopes; they do not span VPCs or regions. If you are planning a
fleet, read Deployments and environments before creating
the first one.
2. Configure
Everything on this step exists to generate yourvalues.yaml. Nothing here is
stored by Popsink — you can also skip the step and write the values yourself.
The PostgreSQL Database toggle means “I bring my own”. Left off, the chart
installs the bundled Postgres sub-chart and points both the data plane and the
schema registry (Kora) at it.
On Azure, pick S3 Compat here anyway and point the broker at ADLS Gen2
afterwards — the wizard emits no
abfss:// engine, and the swap is three values
in the generated file. See
Broker storage on Azure Data Lake Storage Gen2
below.3. Save the generated values.yaml
The Chart step shows your values.yaml first, then the install command
that reads it. That order matters: Helm resolves values at install time, so a
helm install without -f values.yaml installs pure chart defaults and ignores
everything the wizard generated.
The generated file is complete — it covers every value the chart marks
required, plus three secrets minted in your browser and never sent to
Popsink:
values.yaml (generated — abridged)
deploymentJwtToken is an object, not a string — token: nested underneath.
A flat deploymentJwtToken: <jwt> fails to render.
Fill in what the wizard cannot
The wizard flags any value it left empty under “Fill these in before installing”. Two of them always need your attention:1
imagePullSecret.token
Paste the registry token Popsink issued you (the GAR service-account JSON, raw
or base64-encoded). The control plane holds no registry credential, so it
cannot fill this for you.
2
global.imagePullSecrets
Add this by hand — Or skip
imagePullSecret.create: true is not sufficient today.
The chart creates the secret as <release-name>-regcred but does not attach
it to any pod, so every image fails with ImagePullBackOff. Reference it
explicitly:imagePullSecret entirely and create the secret yourself:This extra step is a known chart defect and will go away — until then,
both values are required.
3
externalDatabase.user / .database (only if you brought your own Postgres)
These two are not guarded by the chart: left empty they render, install,
and the data plane then crash-loops on an empty
DB_USER. The database must
exist before the install — the data plane runs its own migrations on startup.Broker storage on Azure Data Lake Storage Gen2
The Retention step only offers S3, but the broker also reads and writes ADLS Gen2 —abfss://, abfs:// and az:// — from Kodansu
1.0.0-alpha.17 onwards. The tag the chart pins by default is already past it,
so there is no image bump to do; what is missing is the chart. It has no
kodansu.storage.azure block, so this is a hand-edit of the generated
values.yaml: pick S3 Compat in the wizard, then replace the storage engine
and swap the credentials over.
Three things are true of every ADLS install and none of them are optional:
- the identity needs
Storage Blob Data Contributoron the account or container.Owneris an ARM role and grants no data-plane access at all — it fails as a403 AuthorizationFailurethat never names the missing role, and it is the first thing that goes wrong; kodansu.storage.aws.regionis still required by the chart, on every path, and never read on this one. Leave any valid region string in it;kotatsu.enabledmust stayfalse. The stream browser reads S3 objects directly and has no ADLS client, so an ADLS engine either fails the render withkotatsu.s3.bucket must be provided…or points it at a bucket that does not exist.
kodansu.extraEnvVarsSecret (or
extraEnvVars / extraEnvVarsCM) rather than a storage value:
4. Configure ingress
The chart can render theIngress for you, and it can also stay out of the
way. Pick one — but either way, ingressUrl must match the public URL your
users actually reach, or the control-plane login redirect loops.
- Bring your own Ingress (recommended)
- Let the chart render it
Leave This is the better option when ingress in your organisation needs specific
annotations — WAF, allow-lists, a company cert issuer.
ingress.enabled: false (the default) and point your own resource at
the data-plane service — <release>-data-plane, port 80:5. Install
Run the command the wizard shows you, from the directory holding yourvalues.yaml:
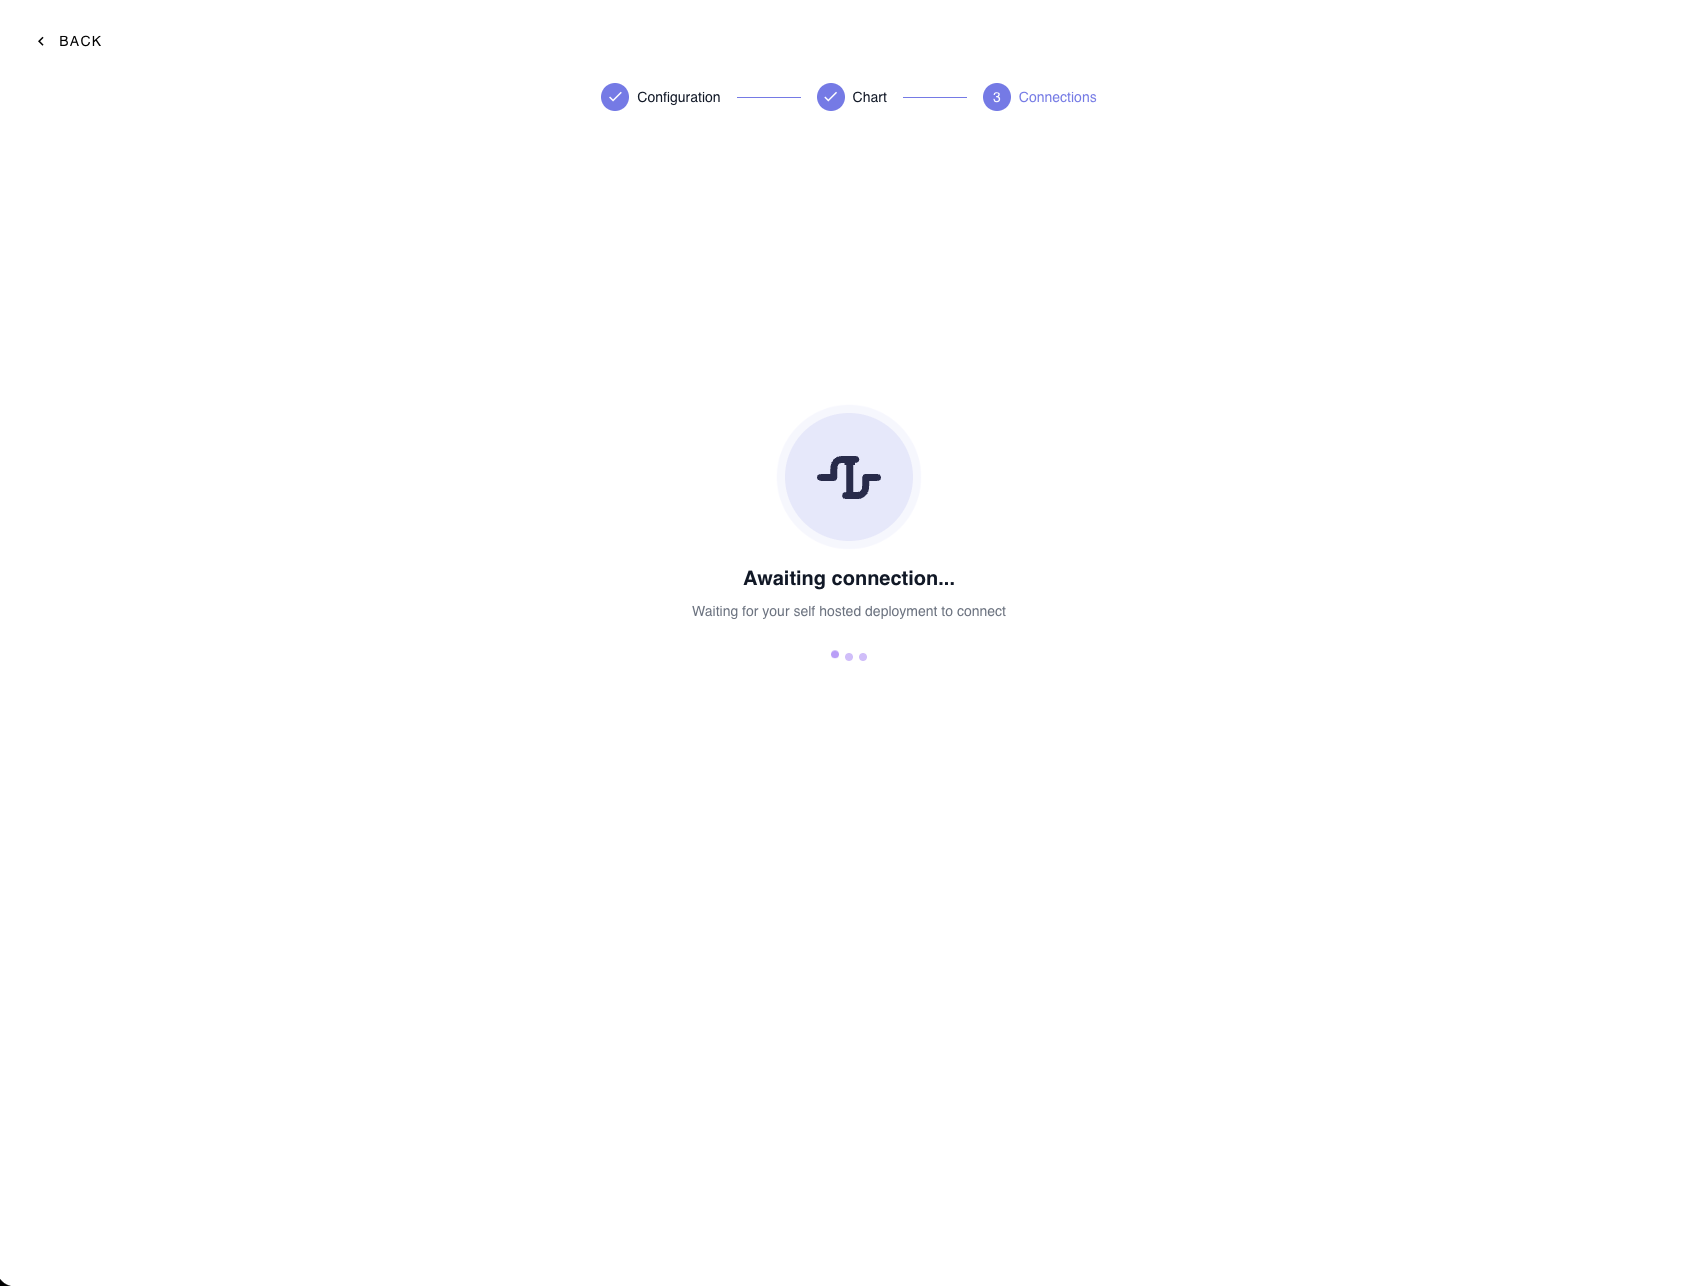
6. Await connection
Once the pods areReady, the control plane leaves Awaiting connections… and
the deployment flips to Live, usually within a minute. That flip is driven by
the data plane’s first
heartbeat — the control plane
never probes your cluster.
ingressUrl and log in with adminCredentials.
It stays on “Awaiting connections…”
The five things to check, and the logs to read next.
Production checklist
Versions & images
Versions & images
- Pin the chart version (
--version) and the application image (image.tag) — never deploylatest. - Upgrade one deployment at a time, starting with staging. See Upgrading a fleet.
State
State
- Use external PostgreSQL (
postgresql.enabled: false+externalDatabase.*) backed by managed snapshots, not the in-cluster Bitnami sub-chart. - Use external S3 with versioning and a lifecycle policy for the broker.
Resources & availability
Resources & availability
- Set explicit
resources.requests/limitson every component — the defaults target small-to-medium clusters. - Keep
replicaCount ≥ 2ondata-plane(default) andkodansu.replicaCount: 3(default). - Keep
pdb.create: true(default) so at least one pod survives a node drain.
Secrets
Secrets
- Provide values through
existingSecretfields and a secrets controller rather than literals invalues.yaml. - Back up the four secrets — admin credentials, JWT secret, Fernet key, database password — in your secret manager.
Safety switches
Safety switches
- Keep
allowDesignLogin: falseandpipelineMode: false— dev-only switches.
Network
Network
- TLS-only ingress, with source ranges restricted if the data plane is internet-exposed.
After the install
Upgrades
helm upgrade, the broker-image caveat, and the order to roll a fleet in.
Uninstalling is documented there too.Tunnels and private connectivity
Reaching a source database that is not on the cluster’s network.
Installing without the wizard
The wizard only generates values — the chart is the same either way. Installing by hand means doing three things yourself:- Get a
deploymentIdanddeploymentJwtTokenfrom the control plane (Deployments → New deployment → Self-hosted). They are the deployment’s identity and cannot be minted locally. - Generate the four secrets yourself — see Secrets you must generate.
- Write the
values.yamlfrom the Helm chart reference, which documents every component the wizard configures for you, plus the ones it does not: BYO Kafka, an external schema registry, Oracle as the Kora backend, HPA/VPA, network policies.
Further reading
Helm chart reference
Every value the chart exposes, component by component.
Troubleshooting
Symptom-to-cause table for the install and the first boot.
Deployments and environments
How to map deployments onto your regions, networks and staging tiers.
Control plane and data plane
What metadata crosses between the two, and the network rules it implies.