> ## Documentation Index
> Fetch the complete documentation index at: https://docs.popsink.com/llms.txt
> Use this file to discover all available pages before exploring further.
# Popsink Kubernetes Deployment
> Step-by-step guide to creating, configuring, and connecting a self-hosted deployment.
## Prerequisites
Ensure your infrastructure meets the following requirements before starting:
* **Kubernetes 1.23+**
* **Helm 3.8.0+**
* Support for a **Persistent Volume (PV) provisioner**
***
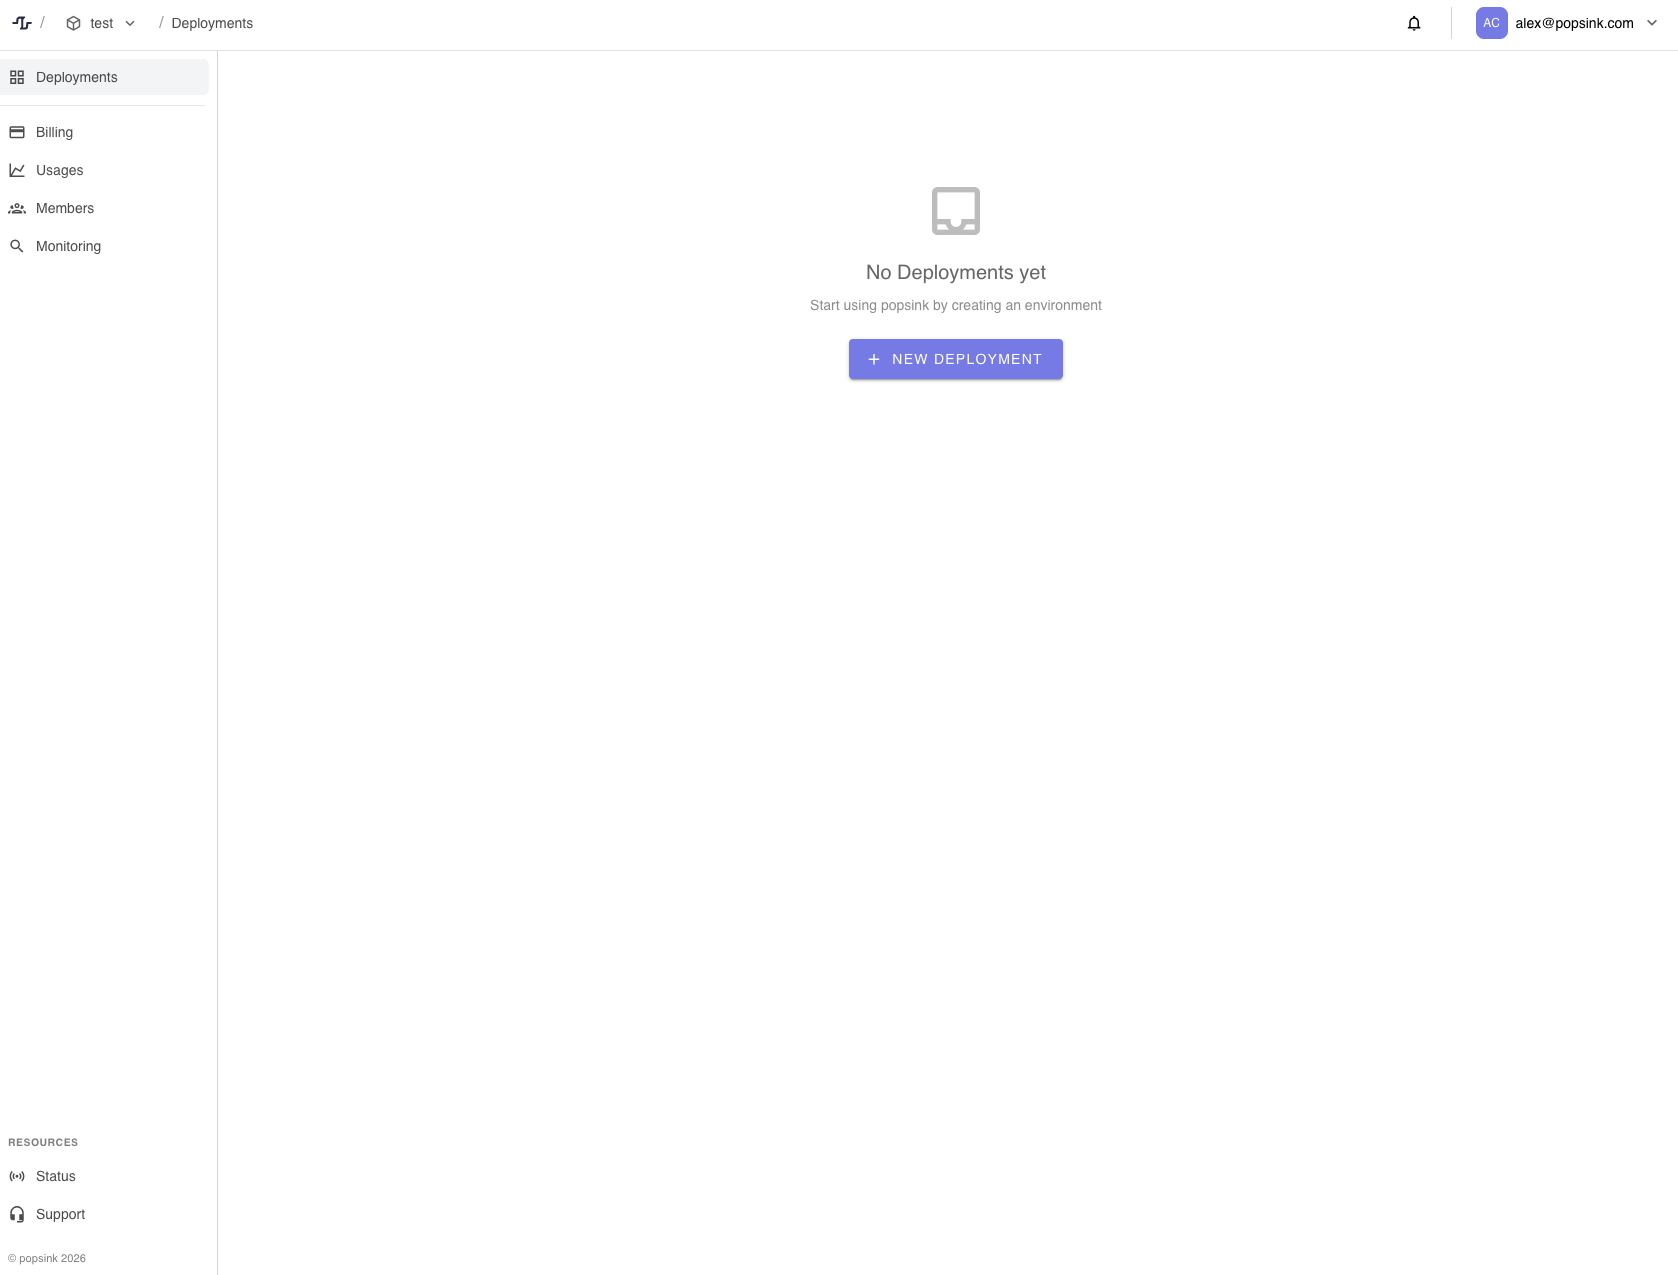
## 1. Create a New Deployment
1. Navigate to **Deployments** from the sidebar.
2. Click **New Deployment**.
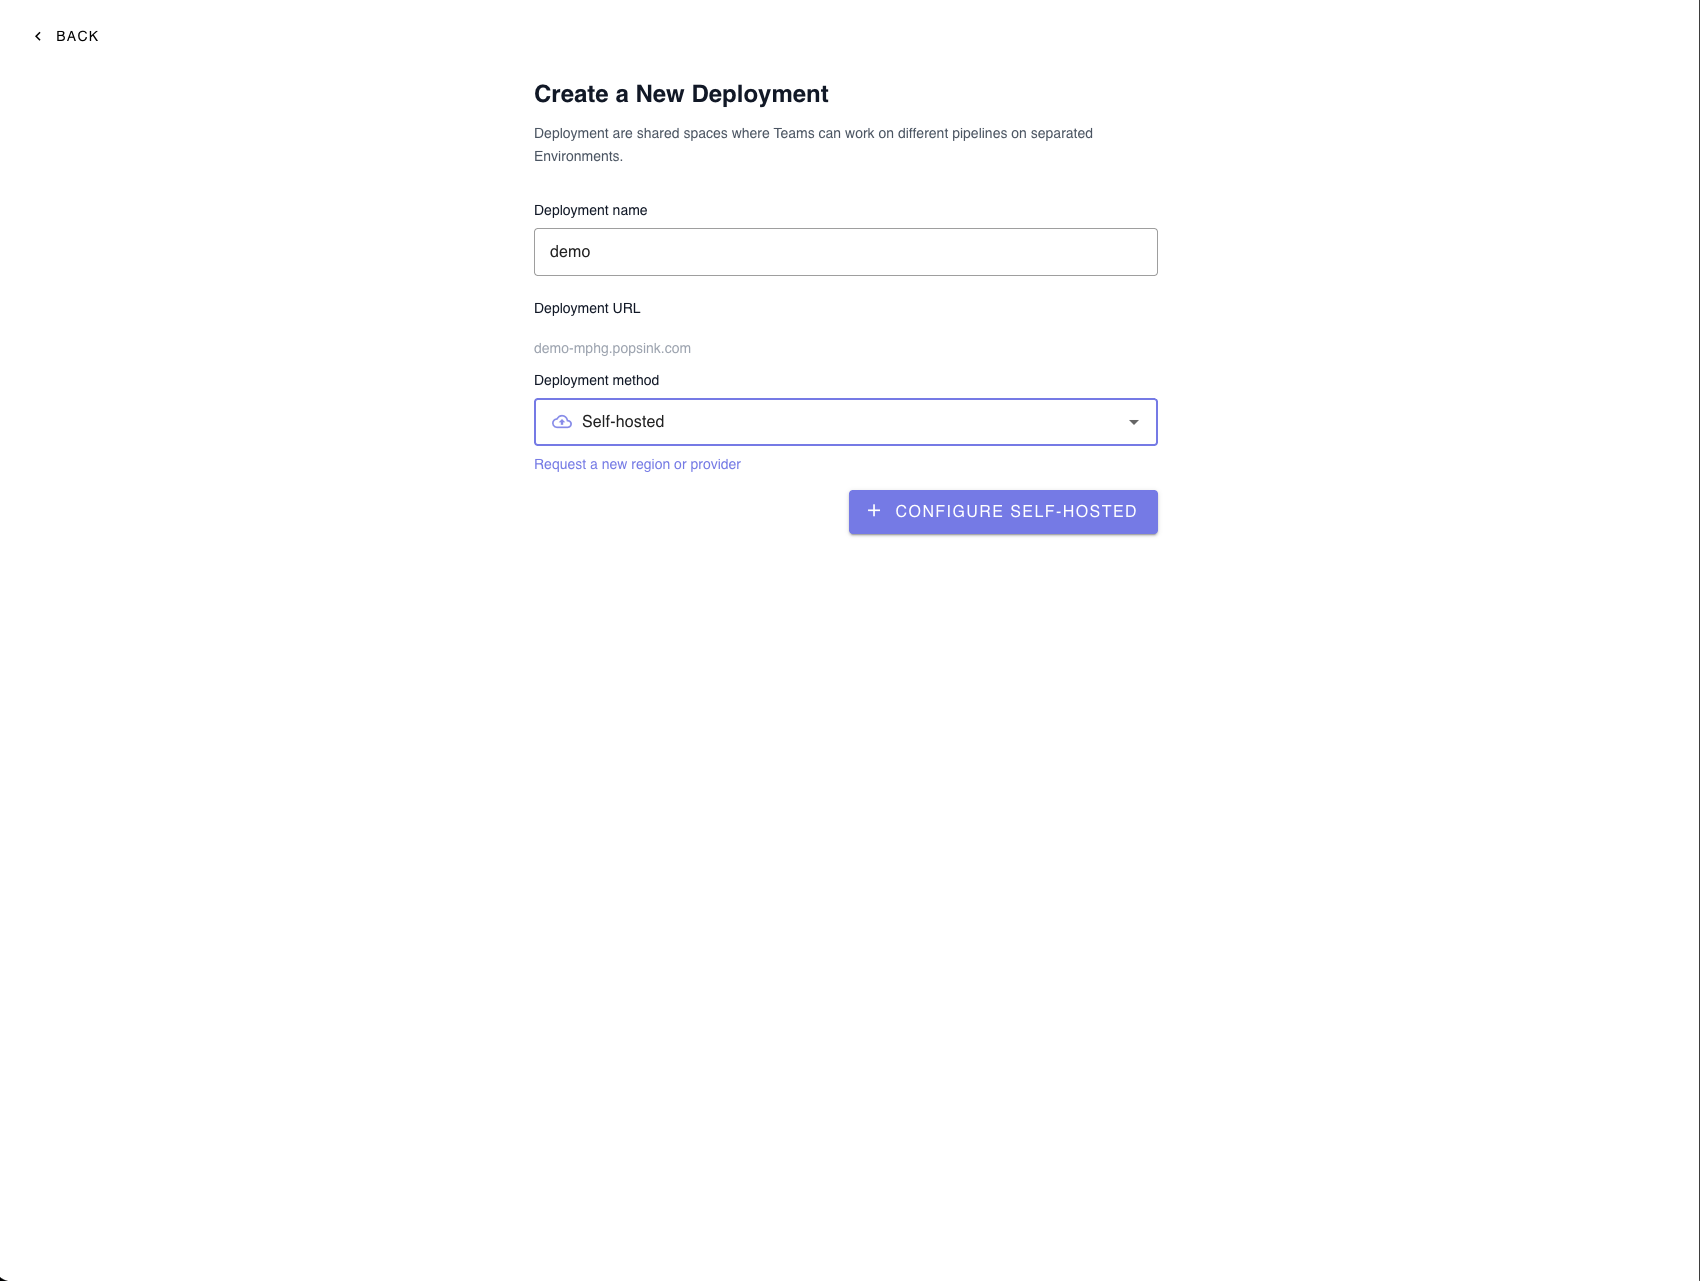
 ### Deployment Settings
Provide the required information:
* **Deployment name** – Choose a recognizable name for your environment.
* **Deployment URL** – Automatically generated from your deployment name.
* **Deployment method** – Select **Self-hosted**.
Click **Configure Self-Hosted** to continue.
> 💡 You can request a new region or provider if your preferred option is not listed.
### Deployment Settings
Provide the required information:
* **Deployment name** – Choose a recognizable name for your environment.
* **Deployment URL** – Automatically generated from your deployment name.
* **Deployment method** – Select **Self-hosted**.
Click **Configure Self-Hosted** to continue.
> 💡 You can request a new region or provider if your preferred option is not listed.
 ***
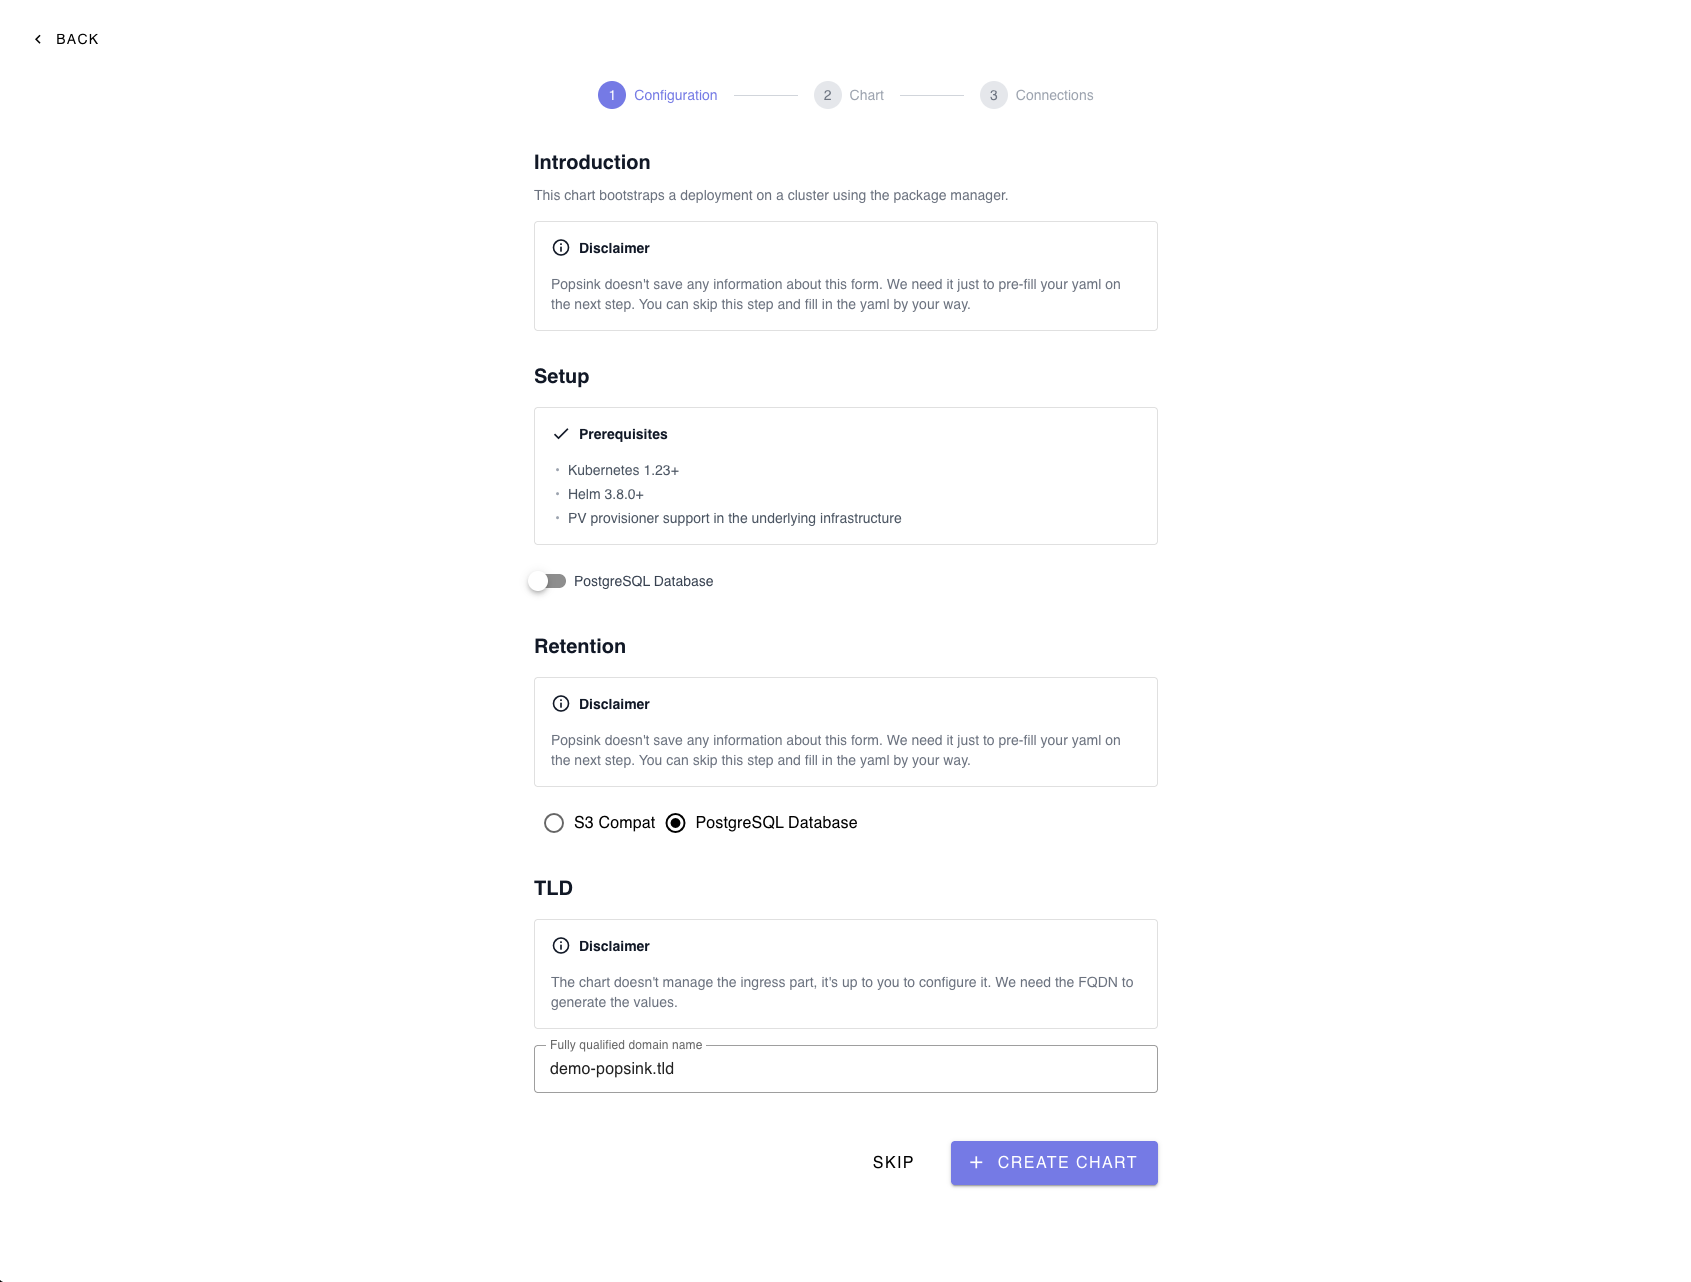
## 2. Configure the Deployment
This step bootstraps your deployment on a Kubernetes cluster using Helm.
> **Note:** The information entered here is only used to pre-fill your YAML in the next step and is not permanently stored. You can skip this step and manually edit the YAML if preferred.
### Optional Database Setup
You may enable a **PostgreSQL database** during setup if required by your deployment.
***
## 3. Select a Retention Strategy
Choose how your data will be stored:
* **S3-Compatible Storage** – Recommended for scalable object storage.
* **PostgreSQL Database** – Suitable for structured retention needs.
***
## 4. Configure the TLD (FQDN)
Provide the **Fully Qualified Domain Name (FQDN)** used to generate your Helm values.
> ⚠️ The chart does **not** manage ingress configuration. You must configure it separately.
**Example:**
```
demo-popsink.tld
```
Make sure to set the `ingressurl` field in your `values.yaml` to this FQDN.
Click **Create Chart** when ready.
***
## 2. Configure the Deployment
This step bootstraps your deployment on a Kubernetes cluster using Helm.
> **Note:** The information entered here is only used to pre-fill your YAML in the next step and is not permanently stored. You can skip this step and manually edit the YAML if preferred.
### Optional Database Setup
You may enable a **PostgreSQL database** during setup if required by your deployment.
***
## 3. Select a Retention Strategy
Choose how your data will be stored:
* **S3-Compatible Storage** – Recommended for scalable object storage.
* **PostgreSQL Database** – Suitable for structured retention needs.
***
## 4. Configure the TLD (FQDN)
Provide the **Fully Qualified Domain Name (FQDN)** used to generate your Helm values.
> ⚠️ The chart does **not** manage ingress configuration. You must configure it separately.
**Example:**
```
demo-popsink.tld
```
Make sure to set the `ingressurl` field in your `values.yaml` to this FQDN.
Click **Create Chart** when ready.
 ***
## 5. Install the Helm Chart
After generating the configuration, follow the provided commands.
***
## 5. Install the Helm Chart
After generating the configuration, follow the provided commands.
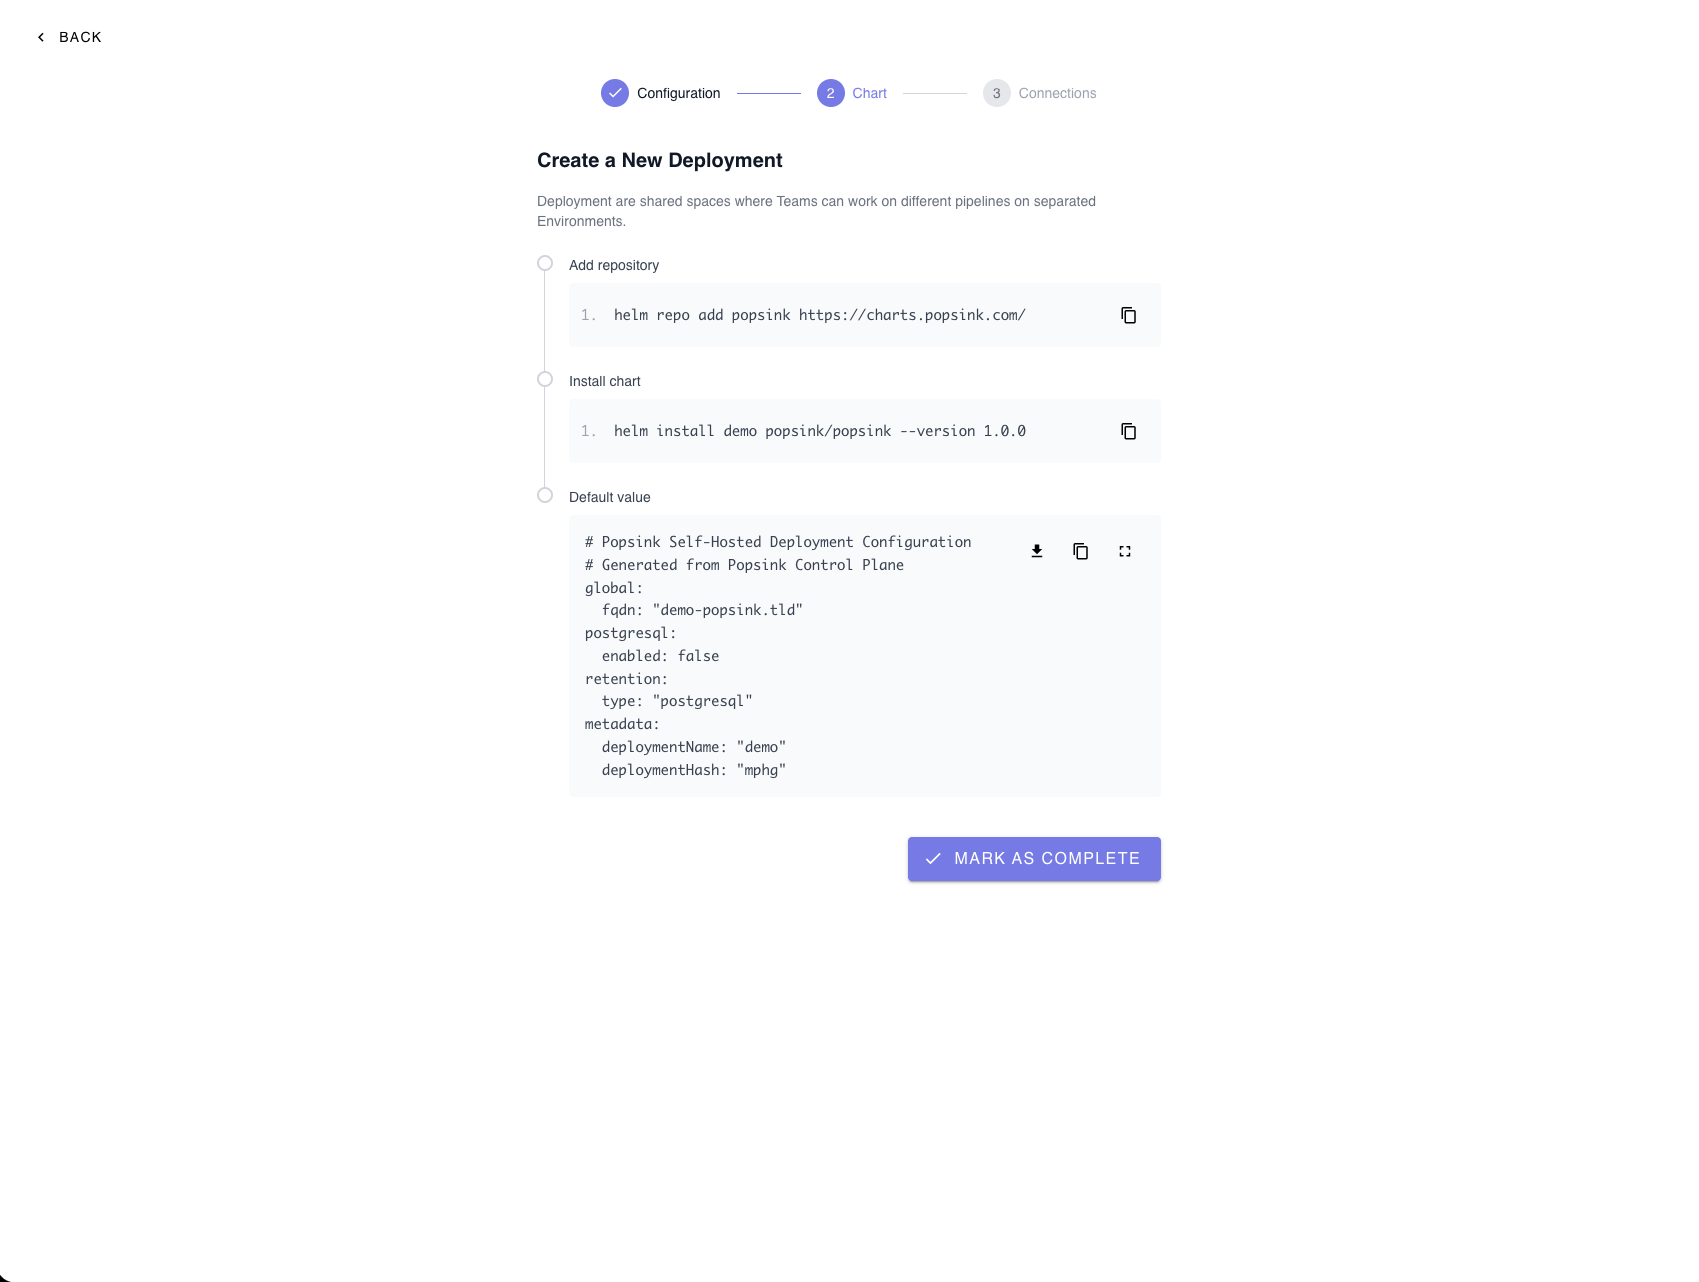 ### Install Command
```bash theme={null}
helm install release-name oci://ghcr.io/popsink/charts/data-plane --version 0.1.0-alpha.8
```
***
## 6. Review and Customize Helm Values
A default configuration file is generated containing:
* Global FQDN
* PostgreSQL enablement flag
* Retention type
* Deployment metadata
Download or copy the configuration and adjust it as needed before applying it to your cluster.
### Required Helm Values
Set the following values **exactly as provided by Popsink** to allow the data-plane to register and communicate with the control-plane:
* `controlPlaneUrl`
* `controlPlaneFrontendUrl`
* `deploymentId`
* `deploymentJwtToken`
***
## Managing Secrets
Sensitive values (such as tokens or credentials) can be provided in two ways:
1. **Directly in `values.yaml`**
Simple to configure, but ensure proper access control and avoid committing secrets to Git.
2. **Reference an existing Kubernetes Secret (Recommended for production)**
Keeps sensitive data out of Helm files and aligns with Kubernetes best practices.
***
## Image Registry Authentication
Popsink distributes container images through a private registry.
To pull these images, you must configure authentication using an imagePullSecret.
Popsink will provide a registry token that you must add to your Helm configuration.
When finished, click **Mark as Complete**.
***
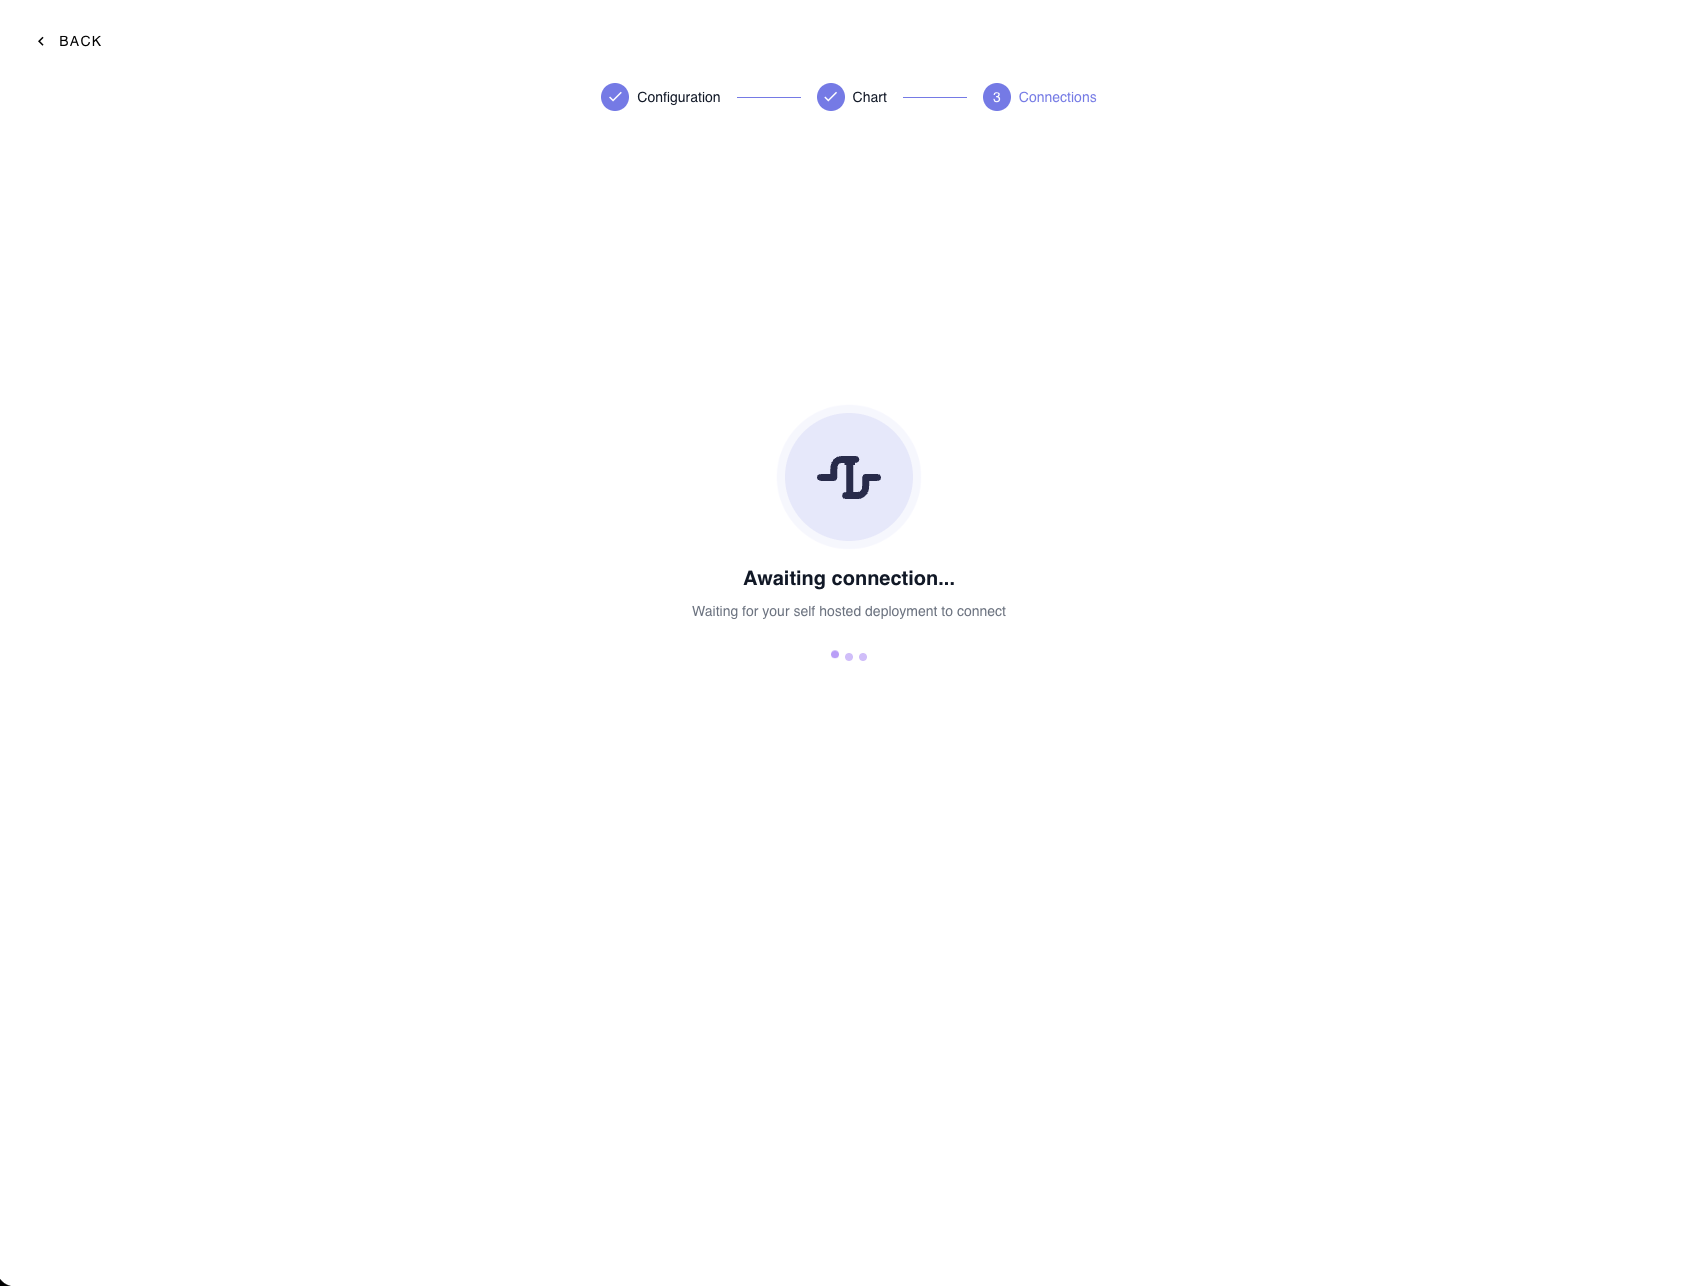
## 7. Await Connection
After installation, the platform waits for your self-hosted deployment to connect.
You will see an **"Awaiting connection…"** status until the cluster successfully registers.
### Install Command
```bash theme={null}
helm install release-name oci://ghcr.io/popsink/charts/data-plane --version 0.1.0-alpha.8
```
***
## 6. Review and Customize Helm Values
A default configuration file is generated containing:
* Global FQDN
* PostgreSQL enablement flag
* Retention type
* Deployment metadata
Download or copy the configuration and adjust it as needed before applying it to your cluster.
### Required Helm Values
Set the following values **exactly as provided by Popsink** to allow the data-plane to register and communicate with the control-plane:
* `controlPlaneUrl`
* `controlPlaneFrontendUrl`
* `deploymentId`
* `deploymentJwtToken`
***
## Managing Secrets
Sensitive values (such as tokens or credentials) can be provided in two ways:
1. **Directly in `values.yaml`**
Simple to configure, but ensure proper access control and avoid committing secrets to Git.
2. **Reference an existing Kubernetes Secret (Recommended for production)**
Keeps sensitive data out of Helm files and aligns with Kubernetes best practices.
***
## Image Registry Authentication
Popsink distributes container images through a private registry.
To pull these images, you must configure authentication using an imagePullSecret.
Popsink will provide a registry token that you must add to your Helm configuration.
When finished, click **Mark as Complete**.
***
## 7. Await Connection
After installation, the platform waits for your self-hosted deployment to connect.
You will see an **"Awaiting connection…"** status until the cluster successfully registers.
 ### Troubleshooting
If the connection is not established:
* Verify that the Helm installation completed successfully.
* Confirm your ingress and DNS are correctly configured.
* Ensure the cluster has outbound network access.
***
## Production Recommendations
For most production deployments, Popsink recommends:
* **Using S3-compatible object storage** for retention (scalable and durable).
* **Providing an external PostgreSQL database** instead of running Postgres inside the cluster.
These practices generally improve reliability, scalability, and operational simplicity.
***
## Advanced Configuration
### Custom JWT Secrets (Data-Plane)
For enhanced security and compliance, you can configure the deployment to **use your own JWT secrets** instead of the defaults.
This approach provides tighter control over:
* Token signing and rotation policies
* Secret ownership
* Security posture
### Troubleshooting
If the connection is not established:
* Verify that the Helm installation completed successfully.
* Confirm your ingress and DNS are correctly configured.
* Ensure the cluster has outbound network access.
***
## Production Recommendations
For most production deployments, Popsink recommends:
* **Using S3-compatible object storage** for retention (scalable and durable).
* **Providing an external PostgreSQL database** instead of running Postgres inside the cluster.
These practices generally improve reliability, scalability, and operational simplicity.
***
## Advanced Configuration
### Custom JWT Secrets (Data-Plane)
For enhanced security and compliance, you can configure the deployment to **use your own JWT secrets** instead of the defaults.
This approach provides tighter control over:
* Token signing and rotation policies
* Secret ownership
* Security posture